Drag and Spin
Use the Drag/Spin tool to drag and spin lines, surfaces, and nodes in order to create surfaces or solids.
Drag Surfaces or Lines
Drag surfaces or lines along their normal, a vector, or another line.
-
From the Geometry ribbon, Create tools, click the Drag tool.

Figure 1. - Optional:
On the guide bar, click
 to define additional options.
-
Select surface/lines and drag.
- Drag in a normal direction by manipulating the slider or entering a value in the microdialog.
- Click
 in the microdialog to define a direction using the Vector tool. Once a direction has been defined, press
Esc and drag the surface/line using the slider
or by entering a value.
in the microdialog to define a direction using the Vector tool. Once a direction has been defined, press
Esc and drag the surface/line using the slider
or by entering a value. - Click Lines on the guide bar to drag along selected lines. Use the options in the microdialog to define how the surface or line is dragged.
- Fixed Frame
- The surfaces/lines are only translated during the drag, not rotated.
- Line Tangent
- In addition to the translation of the fixed frame option, the surfaces/lines are also rotated in the same way that the tangent of the line list rotates.
- Frenet Frame
- In addition to the translation and rotation of the Line
Tangent option, the surfaces/lines also rotate around the
line list tangent axis in the same way as the curvature
vector rotates.
The Frenet Frame option does not work well when the curvature of the line list is not smooth or includes large jumps.
- Reverse Direction
- Defines the drag in the opposite direction.
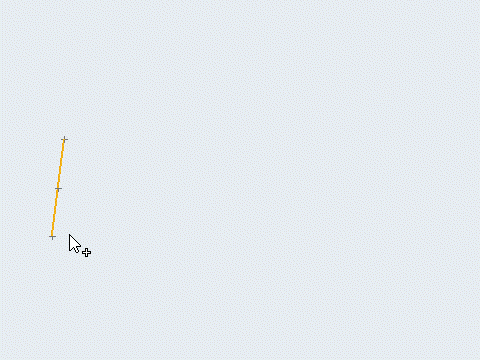
Figure 2.
Tip: On the guide bar, click  to open the
Advanced Selection dialog, from which you can
filter geometry further by selecting a subset of entities based on
additional selection methods, such as By Component or By
Assembly.
to open the
Advanced Selection dialog, from which you can
filter geometry further by selecting a subset of entities based on
additional selection methods, such as By Component or By
Assembly.
Spin Surfaces, Nodes, or Lines
Spin surfaces, nodes, or lines around a defined axis.
-
From the Geometry ribbon, Create tools, click the Spin tool.

Figure 3. - Optional:
On the guide bar, click
to define additional options.
-
Select a spin axis.
Tip: Click in the microdialog to define the direction of the spin axis
using the Vector tool.
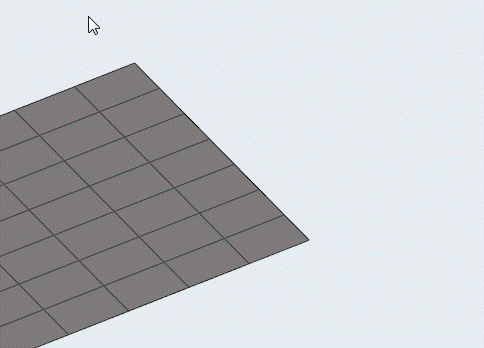
Figure 4.
Tip: On the guide bar, click to open the
Advanced Selection dialog, from which you can
filter geometry further by selecting a subset of entities based on
additional selection methods, such as By Component or By
Assembly.
Drag/Spin Options
Drag
- Merge input lines
- Merge input lines into a smooth line to create a continuous surface.
- Create in
- Select which component newly creates surfaces/solids are placed in.
- Keep connectivity
- Maintain connectivity of the input surfaces to any attached surfaces.
- Merge solids at shared surfaces
- Create a single solid with merged faces at the shared edge locations.
- Inflate
- Extrude the surface in both directions by half of the specified thickness.
Spin
- Merge input lines
- Merge input lines into a smooth line to create a continuous surface.
- Create in
- Select which component newly creates surfaces/solids are placed in.
- Merge solids at shared surfaces
- Create a single solid with merged faces at the shared edge locations.
Keyboard Shortcuts & Mouse Controls
| To do this | Press |
|---|---|
| Select | Left Mouse Click |
| Deselect | Shift + Left Mouse Click |
| Toggle selection | Tab |
| Exit tool | Esc |