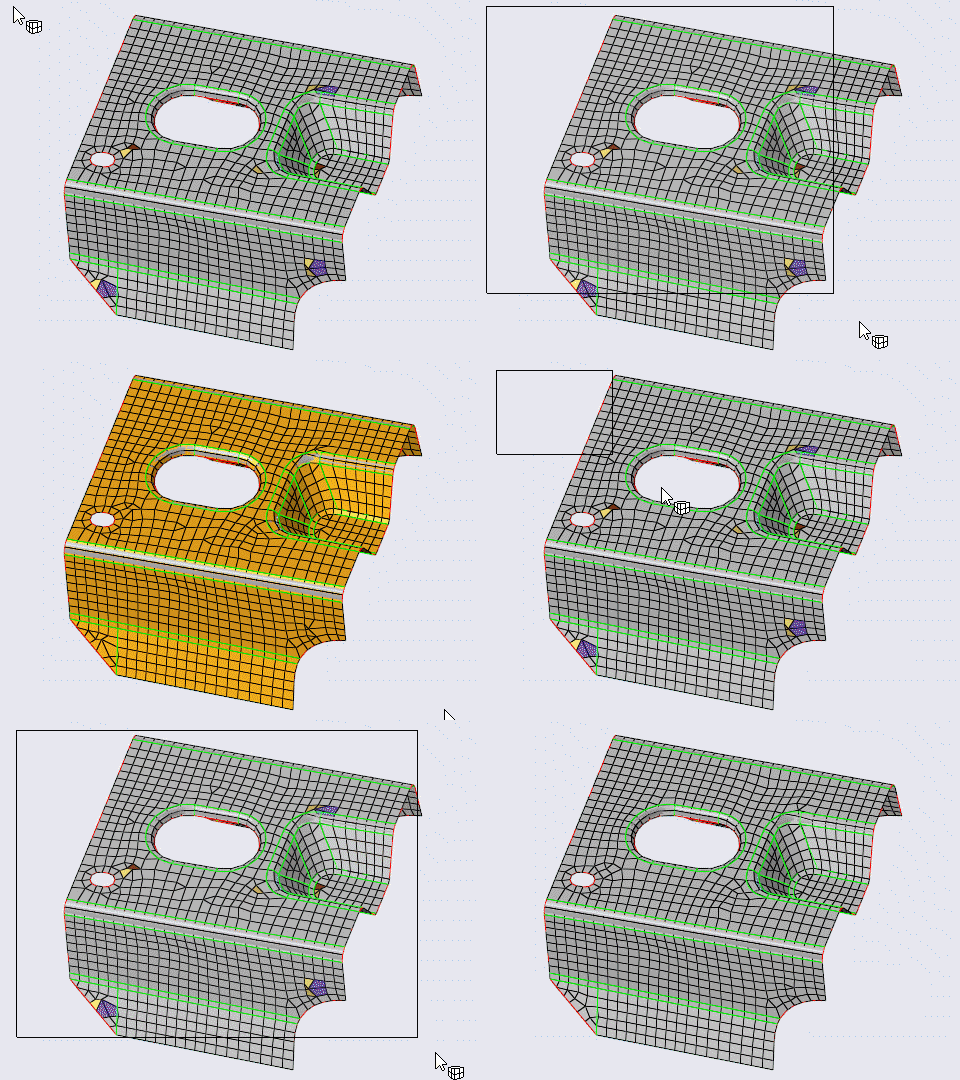
Automatically Fix 2D Element Quality
Use the Auto Quality tool to automatically correct element quality.

Figure 2.
Auto Quality Options
- Edit parameters
- Edit the parameter file via the Parameter Editor.
- Edit criteria
- Edit the criteria file via the Criteria Editor.
- Consider affected elements only
- Only correct elements that are failing the criteria checks, including an optional number of adjacent layers.
- Use adjacent element layers
- Allow the use of adjacent element layers in correction.
- Number of layers
- Change the number of adjacent element layers to use.
- Remesh elements failing QI
- Allows correcting quality by locally remeshing failed elements.
- Reduce tria elements
- Allows local remeshing around tria elements.
Keyboard Shortcuts & Mouse Controls
| To do this | Press |
|---|---|
| Select elements/nodes | Left Mouse Click |
| Deselect elements/nodes | Shift + Left Mouse Click |
| Toggle between elements and anchors | Tab |
| Exit tool | Esc |

 to define mesh options
and open the parameter and criteria files.
 or
or  on the
 to return to
entity selection.