Edit 2D Surface Mesh Elements
Use the Edit Elements tool to edit 2D elements by smothing, moving, splitting, collapsing, replacing, creating, and adjusting the edge density of elements.
Smooth Elements
Use the Smooth tool to optimize the quality of selected elements.
- It is used by an element that was not selected.
- It is selected as an anchor node.
- It is attached to an edge, vertex, or meshing fixed point of a surface.
- It is used by a 1D element (whether or not that element is selected).
- It is not attached to a surface, but is on a feature line of the mesh of the selected plate or shell elements.
-
From the Elements ribbon, Edit tools, click .

Figure 1.Elements are colored according to how well they adhere to the pre-set quality requirements defined in the criteria file. - Optional:
Find all elements at or below a certain quality level.
- Click Find on the guide bar.
-
Increase or decrease the number of layers around patches of failed
elements by clicking
 or
or  on the guide bar.
-
Review the next or previous patch of failed elements by clicking
 or
or  on the guide bar.
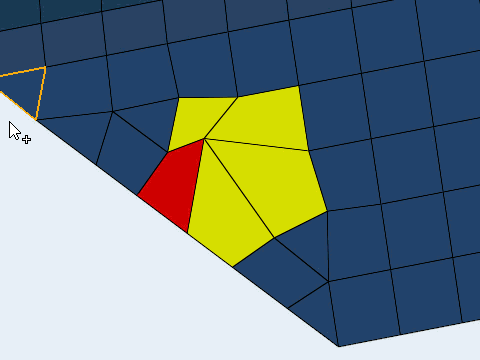
Figure 2.
Move Elements
Use the Move tool to move nodes, drag tria elements, modify holes and washers, and automatically optimize nodes and elements.
-
From the Model ribbon, Mesh tools, click .

Figure 3.Elements are colored according to how well they adhere to the pre-set quality requirements defined in the criteria file. - Optional:
On the guide bar, click to
 to define the options used to
edit elements.
to define the options used to
edit elements.
- Optional:
Find all elements at or below a certain quality level.
- Click Find on the guide bar.
-
Increase or decrease the number of layers around patches of failed
elements by clicking or on the guide bar.
-
Review the next or previous patch of failed elements by clicking
or on the guide bar.
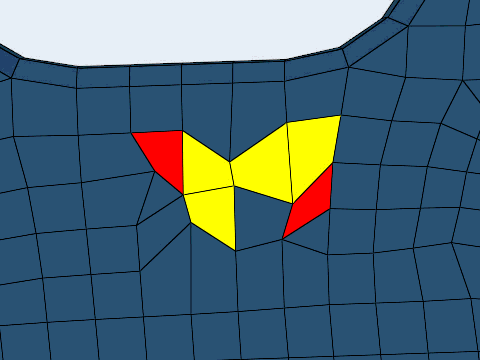
Figure 4.
Split, Swap, Combine Elements
Use the Split tool to split quad elements and edges, combine tria elements, and swap element edges.
-
From the Model ribbon, Mesh tools, click .

Figure 5.Elements are colored according to how well they adhere to the pre-set quality requirements defined in the criteria file. - Optional:
On the guide bar, click to to define the options used to
edit elements.
- Optional:
Find all elements at or below a certain quality level.
- Click Find on the guide bar.
-
Increase or decrease the number of layers around patches of failed
elements by clicking or on the guide bar.
-
Review the next or previous patch of failed elements by clicking
or on the guide bar.

Figure 6.
Replace Nodes
Use the Replace tool to relocate and replace the positions of nodes.
-
From the Elements ribbon, Edit tools, click .

Figure 7.Elements are colored according to how well they adhere to the pre-set quality requirements defined in the criteria file. - Optional:
Find all elements at or below a certain quality level.
- Click Find on the guide bar.
-
Increase or decrease the number of layers around patches of failed
elements by clicking or on the guide bar.
-
Review the next or previous patch of failed elements by clicking
or on the guide bar.
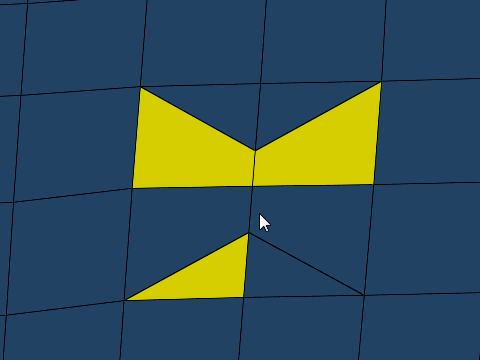
Figure 8.
Edit Edge Density and Element Size
Use the Density tool to edit element density and size along surface edges.
-
From the Elements ribbon, Edit tools, click .

Figure 9. - Optional:
On the guide bar, click
to define surface mesh options.
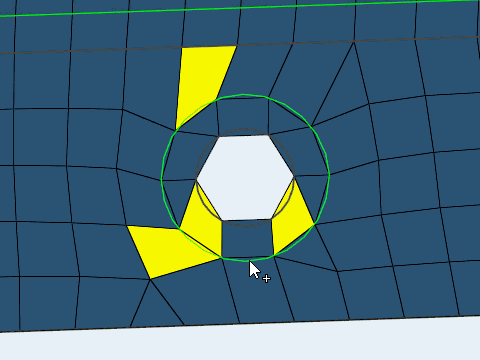
Figure 10.
Create and Delete Elements
Use the Create tool to create new 1D, 2D tria, or 2D quad elements, and delete elements.
-
From the Model ribbon, Mesh tools, click .

Figure 11.Elements are colored according to how well they adhere to the pre-set quality requirements defined in the criteria file. - Optional:
On the guide bar, click to to define the options used to
edit elements.
- Optional:
Find all elements at or below a certain quality level.
- Click Find on the guide bar.
-
Increase or decrease the number of layers around patches of failed
elements by clicking or on the guide bar.
-
Review the next or previous patch of failed elements by clicking
or on the guide bar.
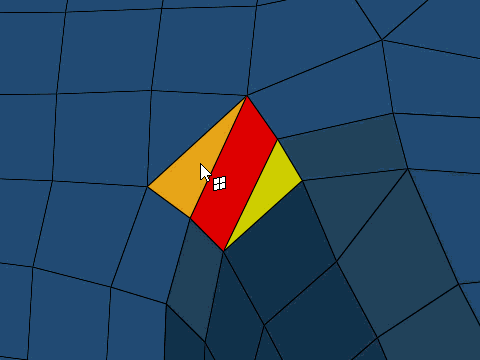
Figure 12.
Edit Elements Options
Move
- Drag node
- Select a direction to move nodes.
- Optimize node
- Select a direction to automatically move selected nodes and optimize the overall quality of its surrounded elements.
- Stop at boundary
- Stop nodes from moving past the edges of a mesh boundary
- Move mininodes automatically
- Move the mininodes associated with the nodes being moved.
- Allow merging trias
- When dragging tria elements, enable two trias to be merged into one quad element.
- Modify hole direction
- Select a direction to move the nodes around the edges of a hole.
- Move washers automatically
- Automatically move, scale, change the radial or angular position of washer nodes, along with the hole being modified.
- Retain washer width
- Modify the radius of the hole and washer simultaneously.
- Remesh layers around hole
- Automatically remesh layers around a hole after modifying it.
- Number of layers
- Change the number of layers to remesh around a hole.
Split
- Force edge swap
- Force edges to swap even if an edge swap will not improve element quality.
Replace
- Replace at midpoint
- Combine nodes at the midpoint of their original locations.
Affected elements may be destroyed or changed.
Create
- Element organization
- Select the component in which elements are placed.
Keyboard Shortcuts & Mouse Controls
Common
| To do this | Press |
|---|---|
| Switch active tool | Ctrl + Tab |
| Exit tool | Esc |
Smooth Tool
| To do this | Press |
|---|---|
| Select anchor nodes | Ctrl + Left Mouse Click |
Move Tool
| To do this | Press |
|---|---|
| Move node/element | Left Mouse Drag |
| Optimize node/element | Double Click |
Split tool
| To do this | Press |
|---|---|
| Split element/edge | Left Mouse Click |
| Split element with line | Left Mouse Drag |
| Swap element edge | Ctrl + Left Mouse Click |
| Combine tria elements | Shift + Left Mouse Click |
Collapse Tool
| To do this | Press |
|---|---|
| Collapse element edge | Left Mouse Click |
Replace Tool
| To do this | Press |
|---|---|
| Select nodes | Left Mouse Click |
| Deselect nodes | Shift + Left Mouse Click |