Panel Mesh
Use the Panel Mesh tool to generate and edit mapped panel mesh.
Create 2D Surface Mesh
Use the Create tool to create a surface mesh and remesh elements.
A surface mesh or "shell mesh" represents model parts that are relatively two-dimensional, such as sheet metal or a hollow plastic cowl or case. Surface meshes are placed on the outer faces of solid objects, and are used as a baseline mapping point when creating more complex 3D meshes (the quality of a 3D mesh largely depends on the quality of the 2D mesh from which it is generated).
-
From the Mesh ribbon, 2D Mesh tools, click the arrow on the right of the
selected surface mesh tool to view a drop-down list of available mesh methods.
Select Panel Mesh from this
list.
By default, the Create tool should be selected.

Figure 1. - Optional:
On the guide bar, click
 to define surface mesh options.
- When using the other General 2D Mesh surface mesh tools tools, you can always go back to the Create tool to add and/or remove surfaces from the meshing area.
- On the guide bar, click
 to open the
Advanced Selection dialog, from which you can
filter geometry further by selecting a subset of entities based on
additional selection methods, such as By Component or By
Assembly.
to open the
Advanced Selection dialog, from which you can
filter geometry further by selecting a subset of entities based on
additional selection methods, such as By Component or By
Assembly.
Edit Edge Density and Element Size
Use the Density tool to edit element density and size along surface edges.
-
From the Mesh ribbon, 2D Mesh tools, click .

Figure 2. - Optional:
On the guide bar, click
to define surface mesh options.
Edit Mesh Biasing and Element Size Distribution
Use the Biasing tool to apply linear, exponential, or bellcurve biasing to individual edges of a surface, and edit the elements size distribution.
Element biasing can be used to improve element quality when transitioning from smaller to larger element sizes, and enables you to moderate the changes in aspect ratio from the start to the end.
After you have created an initial mesh, bias the placement of nodes so that their intervals are not uniform in size. For example, you can designate that the smaller intervals go near the start of the edge, near the end of the edge, near both ends with larger intervals in the middle, or near the middle of the edge.
-
From the Mesh ribbon, 2D Mesh tools, click .

Figure 3. - Optional:
On the guide bar, click
to define surface mesh options.
Edit Mapping Method and Define Free Surfaces
Use the Face Edit tool to edit the mapping method of individual surfaces and define free or unmapped surfaces by selecting points.
-
From the Mesh ribbon, 2D Mesh tools, click .

Figure 4. - Optional:
On the guide bar, click
to define surface mesh options.
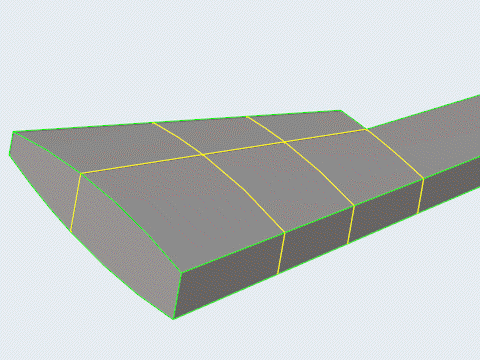
Figure 5.
Panel Mesh Options
Create
- Element size
- Set the average element size.
- Active mesh mode
- Select the meshing mode, with interactive allowing access to the mesh editing tools.
- Curvature based refinement
- Option to turn on mesh refinement based on geometric curvature.
- Method
- Select the adaptive meshing method.
- Minimum size factor
- The minimum element size, as a factor of the average element size. Value must be less than or equal to 1.
- Maximum deviation factor
- The maximum allowable deviation between an element edge and a geometry edge, as a factor of the average element size.
- Feature angle
- The maximum allowable break angle between adjacent elements.
- Minimum edge density
- Enable a minimum number of elements along an edge.
- Minimum density
- Set the minimum number of elements created along an edge.
- Apply if edge length <
- Apply a minimum edge density when edge lengths are less than the specified value.
Density
- Auto update
- Select auto/manually remesh option.
- Element size
- Change the average element size.
Biasing
- Auto update
- Select auto/manually remesh option.
- Biasing intensity
- Change the element intensity.
Face Edit
- Auto update
- Select auto/manually remesh option.
Keyboard Shortcuts & Mouse Controls
| To do this | Press |
|---|---|
| Append selection | Ctrl + Left Mouse Click |
| Deselect | Shift + Left Mouse Click |
| Increase edge value | Ctrl + Left Mouse Click |
| Decrease edge value | Ctrl + Right Mouse Click |
| Scroll edge value | Ctrl + Middle Mouse Scroll |
| Edit value in microdialog | Middle Mouse Scroll |
| Exit tool | Esc |