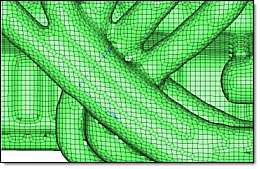
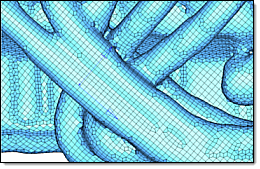
Perform automatic checks on CAD models, and identify potential issues with geometry that may slow down the meshing
process using the Verification and Comparison tools.
1D mesh that allows accurate testing of connectors, such as bolts, and similar rod-like or bar-like objects that can
be modeled as a simple line for FEA purposes.
Use the Midmesh tool to automatically generate a mesh at the midplane location, directly from the input geometry (components, elements,
solids or surfaces), without first creating a midsurface. This saves significant time over the traditional midsurface-based
approach.
The Rebuild tool streamlines the process of remeshing existing meshes to generate a new mesh with good quality and flow. The rebuild
mesh functionality utilizes the same parameter and criteria files used by BatchMesher to define the quality criteria and relevant mesh parameters. This algorithm saves significant time over the traditional
automesh and quality correction approach.
Adaptive wrap meshing is a useful utility to get a clean, water tight shell mesh out of 2D mesh containing several
intersecting parts and small gaps which do not need to be modeled.
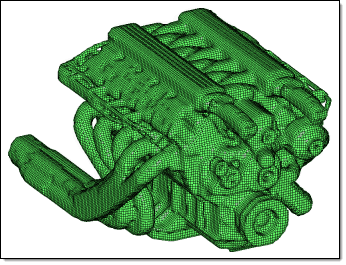
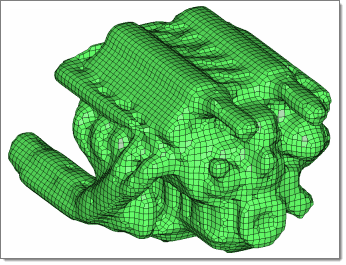
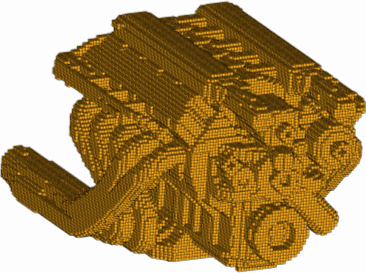
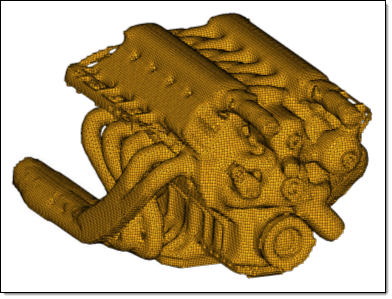
Shrink wrap meshing is a method to create a simplified mesh of a complex model when high-precision models are not
necessary, as is the case for powertrain components during crash analysis.
Loose wrap wraps the selected elements or components, surfaces, or solids with the target element size specified,
and outputs an outer-volume mesh which approximately adheres to the original FE topology.
Tight wrap creates a wrapped surface mesh which adheres as closely as possible to the original FE topology representation,
automatically detecting and following the surface features of the model.
Volume mesh or "solid meshing" uses three-dimensional elements to represent fully 3D objects, such as solid parts
or sheets of material that have enough thickness and surface variety that solid meshing makes more sense than 2D shell
meshing.
Rapidly change the shape of the FE mesh without severely sacrificing the mesh quality and create, edit, and apply
shapes for subsequent design optimization studies.
Shrink wrap meshing is a method to create a simplified mesh of a complex model when high-precision models are not
necessary, as is the case for powertrain components during crash analysis.
Loose wrap wraps the selected elements or components, surfaces, or solids with the target element size specified,
and outputs an outer-volume mesh which approximately adheres to the original FE topology.
Loose wrap wraps the selected elements or components, surfaces, or solids with the
target element size specified, and outputs an outer-volume mesh which approximately adheres
to the original FE topology.
A smaller element size generates a shrink wrap mesh that more closely approximates
the original FE representation and adheres to more features; a larger element size
produces a more basic mesh which ignores more features. The loose wrap does not
project the nodes of the shrink wrap mesh to the original mesh, and typically the
shrink wrap mesh will have an offset from the original mesh, again, the offset is
dependent on the target element size used.
Once the shrink wrap meshing process has completed the new elements will be created
in the current component. For every new run of the shrink wrap mesh, both loose and
tight, it may be necessary to create a new component collector if you wish the
elements to be placed in another collector other than the current component
collector.
Comparison of Varying Mesh Sizes (Shell Output)
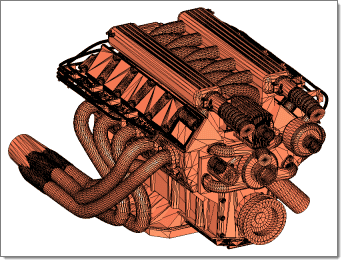
Comparison of Altering the Jacobian Value for Solid Mesh Generation
Within both tight and loose wrap algorithm’s there is an option to generate solid
mesh. This will generate an all Hexa mesh on completion of the shrink wrap. When the
generate solid mesh checkbox is selected it will expose a
minimum jacobian input; this option essentially hexa meshes the part with this
element quality critieria defined. It controls the hexa quality, which is directly
linked to the adherence to the topological features of the original component. The
jacobian value must be between 0 and 1. The nearer the value is to 1, the cruder the
output will appear, the mesh will be more heavily voxelised. When the value is
closer to 0, you are allowing the shrink wrap solid mesh algorithm to smooth and
adhere to more features, while still maintaining the solid mesh minimum jacobian
element quality. By default the minimum jacobian value is 0.3.
Shrink Wrapping with Feature Recognition
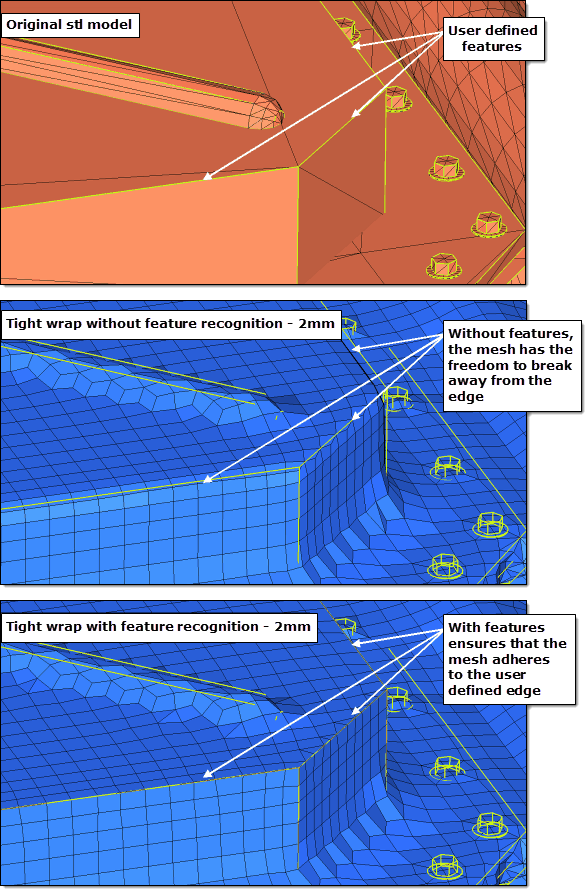
An additional option can be used to manually define features which will be adhered to
during the meshing process. Typically, when using shrink wrap the mesh attempts to
follow features, but has some freedom to break away from original edges of the part.
However, when the features are manually selected within the panel, the resultant
shrink wrap mesh will follow the chosen features. This can be important when
defining a face of a component that may be in contact with other parts, or there may
just be a feature that needs to be recognized and adhered to and cannot be
approximated for whatever reason.
Comparison of using Global and Local Systems for Mesh Orientation
There is also an advanced option to control the mesh orientation. If you have a
non-uniform part and you want to re-orientate the mesh so that it follows the
features of the original component better then you can use this option. By default
the mesh orientation always adheres to the global system, however, you can generate
a local coordinate system and override the default behavior.
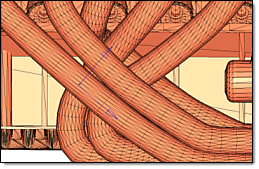
In the example below, you can see the original mesh, the default shrink wrap mesh
using the global system, and the new re-orientated mesh using the local coordinate
system.