Interlacing Columns
If you choose to interlace data, or Insert as Columns instead of Append as Columns, the procedure varies slightly.
-
For example, start with the same session data as when appending data.
-
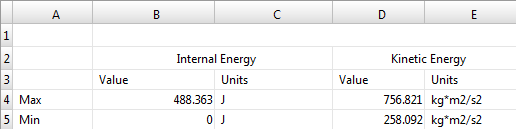
However, when you select Insert as Columns for the Overlay Mode, you will have
two overlay areas defined, as shown below:

-
Click Apply.
The image below shows the data for Run 1 and Run 2 side-by-side under each heading.

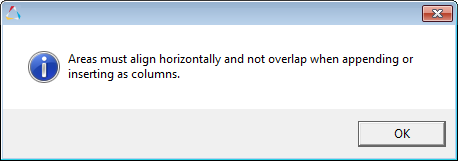
Note: Existing cells (in the original table) will not be modified/affected when the overlay is performed.When more than one area in the table is selected for an overlay, the selected areas must align horizontally when overlaying by column and vertically when overlaying by row. In both cases, the selected areas must not overlap. When more than one area in the table is selected, if the second area overlaps or does not align properly with the first, a message similar to the one below is displayed as soon as the second area is selected and you will not be allowed to select that area: