Data Summary
The Data Summary dialog displays model data in a table.
This dialog contains tabs for each entity in a system and displays its properties. Entities include points, vectors, curves, bodies, advanced joints, couplers, bushings, fields, spring dampers, beams, polybeams, forces, motions, contacts, sensors, solver variables, solver arrays, and control siso data.
Advanced joints, bushings, fields, beams, forces, and contacts contain properties which are displayed through sub-tabs. Advanced joint properties include point to curve joint, point to surface joint, curve to curve joint, curve to surface joint, and surface to surface joint. Bushing properties include stiffness, damping, and preload. Field properties include stiffness, damping, and preload/freelength. Beam properties include circular, rectangular, and arbitrary. Force properties include translational, transrotational, rotational, LOA, SC rotational, and all forces. Contact properties include rigid to rigid-impact, rigid to rigid-poisson, rigid to deformable surface-linear, and rigid to deformable surface-poisson.
The dialog displays data for each coordinate that defines the entity. You can enter data in each field and export the data by clicking Export Data. The data can be exported as an Excel file or a text file.
The message log appears in the bottom half of the window and gives you information about your file. To display a data log, click Message Log (the button will remain in a depressed state). To clear the message log, click Clear. To remove the display of the data log, click the Message Log button again.
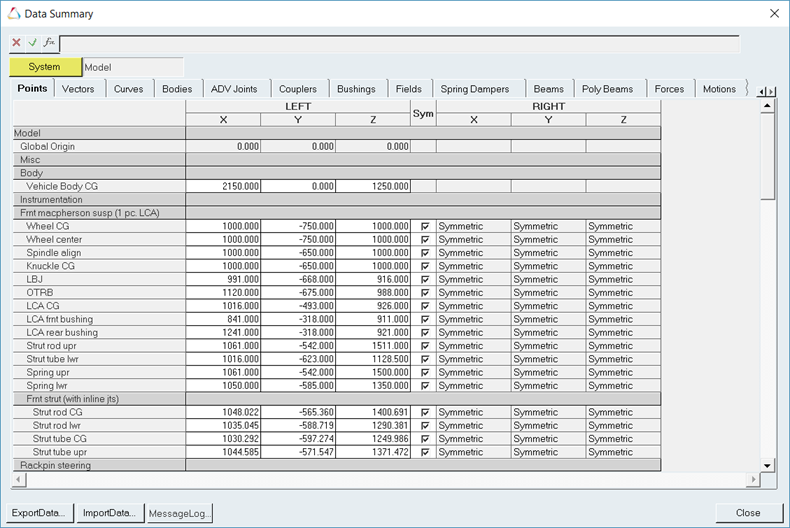
Figure 1.